I started work on a couple of images knowing that I wanted eventually to give them a decorative border. This week I set out to complete this design. It took a surprising amount of tweaking and revising before I finally settled on a satisfactory pattern. After tracing the drawing onto a litho stone (smoothly grained limestone) I drew out the pattern with a greasy ink (autographic ink).

The piece of wood on the left is a homemade bridge to keep my greasy little hands from resting on the stone surface. Since the stone holds grease at this point, finger/hand prints will soak in and eventually print.
Once the image was complete, I applied rosin and talc to protect the drawing and then smeared a mixture of gum arabic and nitric acid over the surface. The gum and acid convert the limestone into a grease-resistant, water absorbent layer while concurrently reacting with the drawing to release grease into the stone, creating a water-rejecting grease-absorbing area.

Although the physical appearance of the stone doesn't really change dramatically, this is when the real magic takes place. The gum/acid mix are stirred up, moved over the surface with a small sponge, and buffed smoothly across the surface with bundled cheesecloth. At this point the surface is "closed" and is no longer receptive to grease.
After waiting for a bit, the drawing is stripped away using lithotine and a layer of asphaltum is smeared across the surface. The gum is washed away and ink is rolled across the moistened surface, adhering to the greasy spots (the image) and leaving the non-image area clean.

No matter how many times I do this, the moment of seeing the image reappear on the stone is always a bit magical. When the image is fully inked a second etch is applied, then it is off to print!
For the printing process these steps are repeated- the image is washed out with lithotine, asphaltum is smeared in, the gum layer washed away with water, and ink is rolled onto the surface.

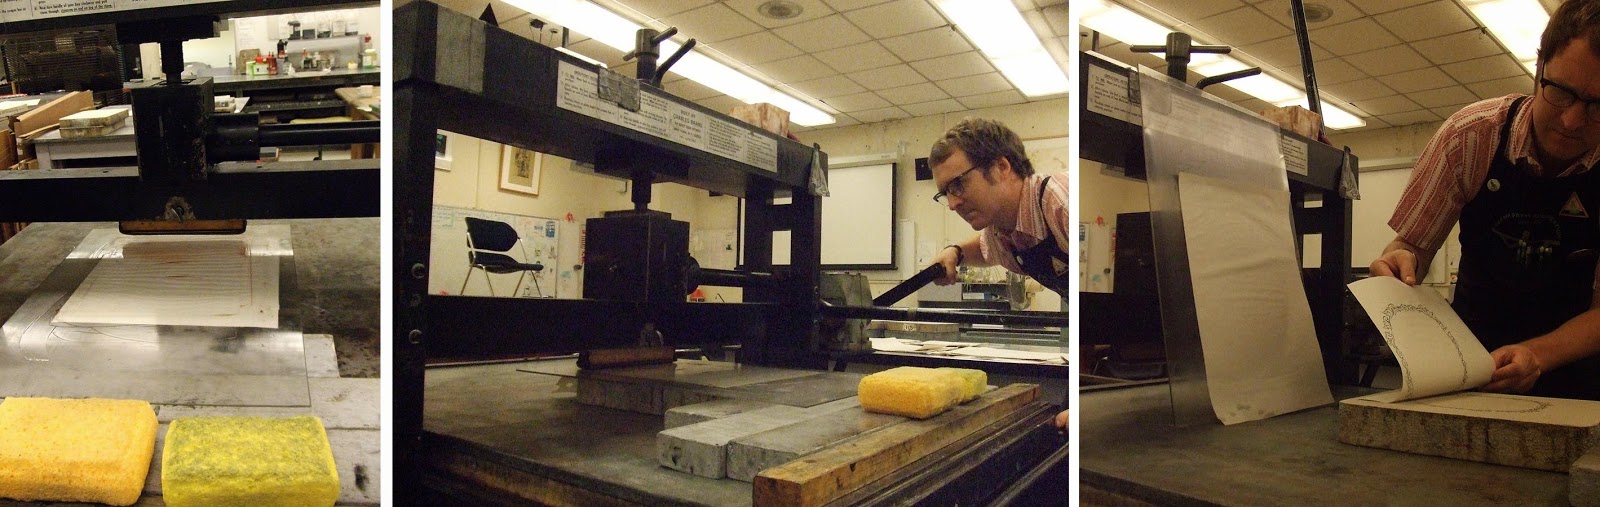
Once the image is fully inked a piece of paper and a greased tympan are placed on top, the stone is cranked through the press and the image is transferred to the paper.
The border adds the final touch to the prints and I was really pleased with how it all turned out. I'm saving this stone so I can utilize this border on each print in the series.

Hopeless Heroes (Cain) 7.5"x10" Hopeless Heroes (Jr) 7.5"x10"
That magic moment...when the image slowly appears on the photo paper in a dark room...seeing the drawing come to clarity as excess ink is wiped from an etched plate...it never gets old! Good luck in the studio and the new house.
ReplyDelete